


I had two issues. First, I needed non-breakable ornaments for my little girl's miniature Christmas tree. Second, I had some fancy stickers and other things I didn't want to "use up" because then I couldn't look at them anymore. Soooo, I decided to make these little wooden ornaments using the stickers. These are not limited to Christmas, and you can make them without the hangers and put them together as wall art. In any event, it's super easy, and here's how you do it. Start with some unfinished wooden discs, which you can find at any craft store. The packaging will look something like this, although these are much smaller than the 3-inch discs I used.
 Here is what they look like before you start.
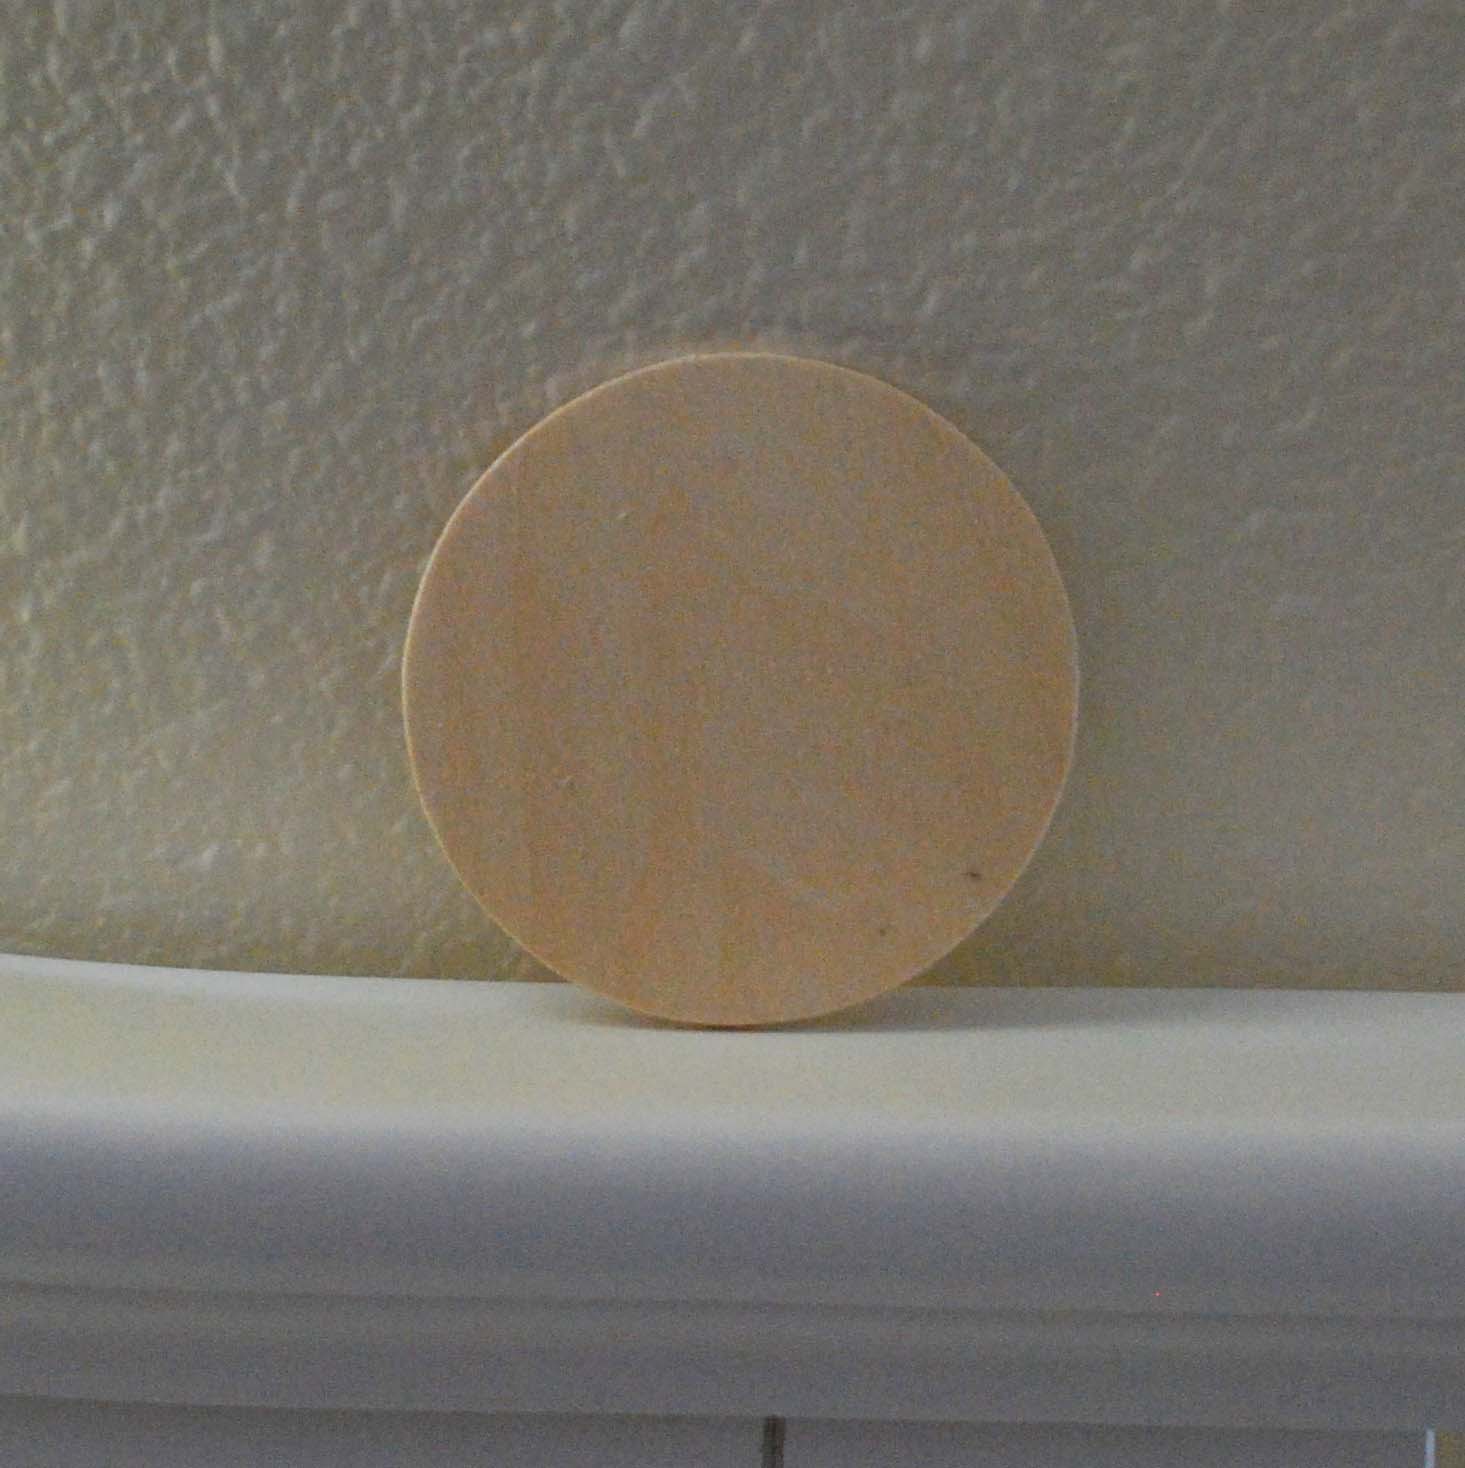
Lightly sand both sides and the edges with fine grit sandpaper.

I covered the back of my ornaments with coordinating paper in case the ornament gets turned around on the tree. If you want to do that, trace your disc on some paper to get the right size circle.
 Then cut out your circle.
Paint both sides of the disc and the edges with craft paint. I used two coats since the wood is pretty soft and really soaks up the paint.

Once the paint is dry, glue down your paper backing on the back and your embellishment on the front using Mod Podge. Three-dimensional embellishments may not lay flat, so you might want to put something heavy on top overnight to glue it down flat. Cover both sides of the disc and the edges with two or three coats of Mod Podge. Let each coat dry thoroughly before adding the next coat.

If you are making a hanging ornament, drill a tiny hole at the top of the disc. I realize this photo does not show a safe drilling technique, but I trust that you will do your drilling carefully!

For the hanger, get some teeny satin ribbon (or the ribbon of your choice -- just make sure it will fit through the hole you drilled), and a needle with a large enough eye to accommodate the ribbon. Thread your needle with the ribbon.

Push the needle with ribbon up through the hole you drilled, and pull one side of the ribbon all the way through. tie at the top.


Push the needle with ribbon up through the hole you drilled, and pull one side of the ribbon all the way through. tie at the top.

And there you have it! I'll try to get some better pictures of these ornaments on the tree when I set it up this weekend.
 Have a great day!

Have a great day! 


7 comments:
How fun! These are lovely. :)
So cute! I'll be copying!
Cute! You are so funny with the stickers. I am the same way...sometimes I keep stickers for years because I love them so much! LOL
Very cute Ashlee! I think I might make some of these with Kelly. Thanks for the easy tutorial.
I love this idea - we'll have to make some for the kids's trees. Thanks!
This is simply cute and cool tutorial. Gotta give it a shot. Thanks!!!!
So super cute - I love them.
Post a Comment