Wednesday, January 13, 2010

Stash Week Day 3: Fabric


So here's the fabric stash. The previous owner of our house was an avid knitter and had this island with baskets installed to hold all of her knitting supplies. The top row and middle right row hold the cotton prints. At various times they are more or less arranged by color palette. Most of this fabric was purchased from various Etsy sellers (you can see some of my favorites by going to my dormant Etsy shop and looking at my Favorites), one or two local quilt shops, my all-time favorite fabric store in Phoenix, J. Caroline Creative and the Fat Quarter Shop. I have been on a fabric-buying moratorium since late 2008, so you probably aren't seeing any new prints in there! Bottom left holds a small selection of home decor fabrics for projects that have been envisioned but not executed. Bottom right holds fabric scraps. So here's a quick tip for finding new fabrics. When you are going out of town and will have a few minutes to kill, find a few fabric shops beforehand to visit. To do this, go to the website of one of the popular fabric designers, like Amy Butler or Joel Dewberry, and find out where they sell fabric in the town you are visiting.

See you tomorrow, and thanks for stopping by!

Monday, January 11, 2010

Stash Week Day 2: Ribbon


Yes, this is the drawer directly above yesterday's drawer. Let me start by saying that this does not include Christmas ribbon. Christmas ribbon goes with the Christmas stuff. I know that super-organized people like Martha Stewart keep all their ribbon on the spools, then put a dowel through the spools and then hang the dowel somewhere. It looks nice, plus you have information about each type of ribbon in case you need to get some more. This method doesn't work for me because I don't have a good place to hang it. Instead everything but sheer and satin ribbon (which gets picked and runs too easily) gets taken off the spool, and the empty spools get tossed, repurposed or recycled. Here how it's all organized.
1. I used an empty roll from home decor weight fabric to hold wide ribbons (1 inch wide or wider), which are secured with teeny gold safety pins. You can ask at your local fabric store if they have any empty ones they'd be willing to give you. If you buy the end of a roll or enough yardage, the store will sometimes give you the roll, too. In any event, I just need to figure out how to mount this thing on the wall. I'll add it to the "to do" list.
2. Ric-rac how I love thee. I cut a strip of a very stiff cardboard and wrapped all my ric-rac around it so I could have it all in one place. I used a tiny piece of double-sided, removable, acid-free tape to hold the ends in place, wrapped the ribbon around and secured it with straight pins.
3. Sheer and satin ribbon stays on its spools and resides in this shoebox. There are also a couple of rolls of paper ribbon that I got on clearance for pennies at Ikea.
4. This little basket holds super skinny satin ribbon that's just loosely piled in there. This is the kind that you can get on sale three rolls for $1 at Michael's. I use it primarily for hanging tags on gifts and hanging ornaments on the Christmas tree.
5. This tiny toddler sneaker box holds scraps of ribbon, generally shorter than a foot long.
6. This old cardboard box holds all the rest of my ribbon, namely, the half-inch ribbon used to make kids' hair clips. I just sort of loosely "fold" the ribbon and lay it in the box. I can't see it all at once, but I know what is in there, so I generally can find what I need.
So, yes, I have (in the past, I swear) amassed quite a bit of ribbon. But like I said, as soon as I get the two-year-old trained, we'll be cranking out crafts like sausage. Just wait and see. Come back the rest of the week for more stash talk. Have a great week!

Sunday, January 10, 2010

Stash Week Day 1: Kid Craft Supplies


When you have no time to create, organize! I have been trying to get the craft room all cleaned up and ready for lots of future creating (that I'll be doing in all my spare time . . . whenever that happens). So I thought I would share with you the contents of my craft supply stash. Today we are looking at the kid craft supply drawer. Since my little girl is only 2 (almost three), there hasn't been a whole of lot of crafting other than coloring, painting and sticking stickers. But I have high hopes. And now everything is organized and ready.

1. An adult-sized sneaker box is the perfect size for fitting most of the kid craft stuff, like pom-poms, glitter paint, stamps and ink pads, pipe cleaners, beads, popsicle sticks, a glue stick and safety scissors.

2. I got some of these awesome Martha Stewart Crafts kits at Big Lots ($2 each, woo!), and my friend Christina bought me some too without me knowing it! Now that is a real friend -- someone who knows you well enough to know you'd prefer these over just about any other present.

3. A gigantic stack of multi-colored construction paper that will last until your child is in high school can be purchased from Costco for about $8. Seriously. I have been using this stack since 2004, and it's still about eight inches high.

4. These little craft kits -- necklaces with wooden beads, etc. -- sell for $1 at Michael's and JoAnn. Not expensive, but they put them in the clearance bin eventually (especially at JoAnn), and you can get them for $.25 to $.50. I was thinking this would be an easy birthday party craft for littler kids.

5. Miscellaneous stuff goes over here. I have some old-school scrapbooking supplies (before the days of all the matching, fancy coordinating stuff) from Big Lots, some little paint-by-number kits she got for Christmas and travel-sized Color Wonder coloring books.

I'd love to hear your ideas for kid craft supplies. Come back the rest of the week to see more stash.

Tuesday, January 5, 2010

Just In Time For, Er, Other Holidays Besides Christmas: Gift Wrap Ideas


Still no time to do anything but work and then veg for an hour or so before bed. However, I do have these photos of some of our Christmas gifts/tags to share. I didn't have much time to "decorate" too many presents, but I did a few. Thanks for looking.


Sunday, January 3, 2010

Welcome 2010!


Hi, everybody! I hope everyone had a lovely and relaxing holiday. Hopefully nobody ran into trouble like this guy! Anyway, I love to make lists and plan stuff out. I only wish I could be as determined and focused in the actual execution. So here is a rough outline of projects for 2010. I reserve the right to add/delete as necessary. I'd love to hear what you are up to this year.
January -- Organize the house and send unused items to the appropriate place (Goodwill, Freecycle, Craigslist, friends and family who might want them, etc.). My two inspirations: Martha Stewart's Homekeeping book and the Fly Lady.
February -- Valentine's Day! Make something sweet for my family and send a few handmade greeting cards. I also need to start planning for a certain person's third birthday party in March. Which would include working on the dollhouse. Ummm....yeah. It's not exactly "finished" yet.
March -- Third Birthday Party! I am thinking about the tried-and-true polka dot birthday party. There is an amazing amount of information and ideas about this theme on the internet. Yay for creative people sharing!
April -- Easter! I would like to do some "Spring" decorating and send some handmade Easter cards like I did last year. Also, it should be wildflower season in Texas, so we need to do the annual "side of the road" photo shoot. At the end of the month is a 48-hour business trip to Atlanta, only about 4 or 5 hours of which will be available for shopping. Must make a strategic plan for visiting old favorites and new places. Back in Texas, I need to find a place for us to go pick our own fruit later in the spring/summer. Any ideas?
May -- Time to head out to the lake house and get everything ready for summer! We need lots of cleaning, but I also want to see what I can find for free/cheap to make the house more comfortable. I also want to get our outdoor living area to be reasonably usable. I don't see spending money on a landscape architect or anything like that, but I'd like to make a shady area where we can eat without bugs.
June -- Summer is here!!!! I am dying to have a pool party. Anyway, of all the years we've been in this house, we have never had a pool party. Now is the time. I'd also like to start the little one in a gymnastics or ballet class. One where she is on her own, but they let me stay and watch.
July -- This is a perfect month to start getting ready for Christmas. It is about 8,000 degrees in Austin in July, so I don't want to spend too much time outside. Also, the Fourth of July! Yay! I hope we can get the whole family out to the lake or together at someone's house. I would also love to have a weekend getaway for our seventh wedding anniversary.
August -- Beach vacation! I want to minimize the amount of luggage we take. I also plan to start way in advance searching for cheap flights (hallelujah the new airport in Panama City should be open and make it a LOT easier to access Santa Rosa Beach).
September -- Hopefully the little one will be starting part-time school. In all my "free" time I'd love to work on my photography skills (non-existent) and do some more Christmas preparation.
October -- I really want to make a Halloween costume this year. I'd also like to organize a little Halloween party for the neighborhood kids. Plus, we have to get to the pumpkin patch for a photo opportunity.
November -- Thanksgiving!!!! I would really like to contribute something different this year, since I've been making mashed potatoes and a Bundt cake for several years now. Also, I plan to have my Christmas cards done and all Christmas presents bought by Thanksgiving. I can hope, right?
December -- Christmas!!!! Trail of Lights, Riverbend Christmas program, parties, work dinner at a fancy restaurant, friends, family, Santa pictures. I can't wait!!!!


PS -- I received a Cricut for Christmas. The package from the infomercial (I love that infomercial). I only hope I can prove myself worthy of such a gift.

Wednesday, December 2, 2009

It's Beginning To Look A Lot Like . . .


I am so excited, and there is so much stuff I want to show you guys. As luck would have it, I've been slammed at work and haven't had time to do anything bloggy. Here is one thing I have done -- the banister.


It's super easy to decorate a banister if you haven't done it before. I use the cheapy 9-foot faux garlands (you can get these for a few dollars at the craft store). Wind two of them together to give them more body. Then you wind in strands of mini lights, which you can hold in place with the garland's bendable branches.


You can attach the lighted garland to the banister with small gauge floral wire. Then add whatever embellishments you want. I used an extremely long strand of "pearl" beads that I got at Hobby Lobby, some awesome ribbon I love from Martha Stewart's K-mart collection and the blooms off of silk lily "bushes" I got at Michael's. One other thing -- if you have any framed art or pictures you can take down, you can stick a wreath on the nail or hanger for the holiday season.

I sure hope I'll have time to get back on here any show you some more cool stuff I've seen and read recently. Until then, I hope you're having a wonderful holiday season!

Monday, November 23, 2009

Make These Easy & Cute Wooden Ornaments


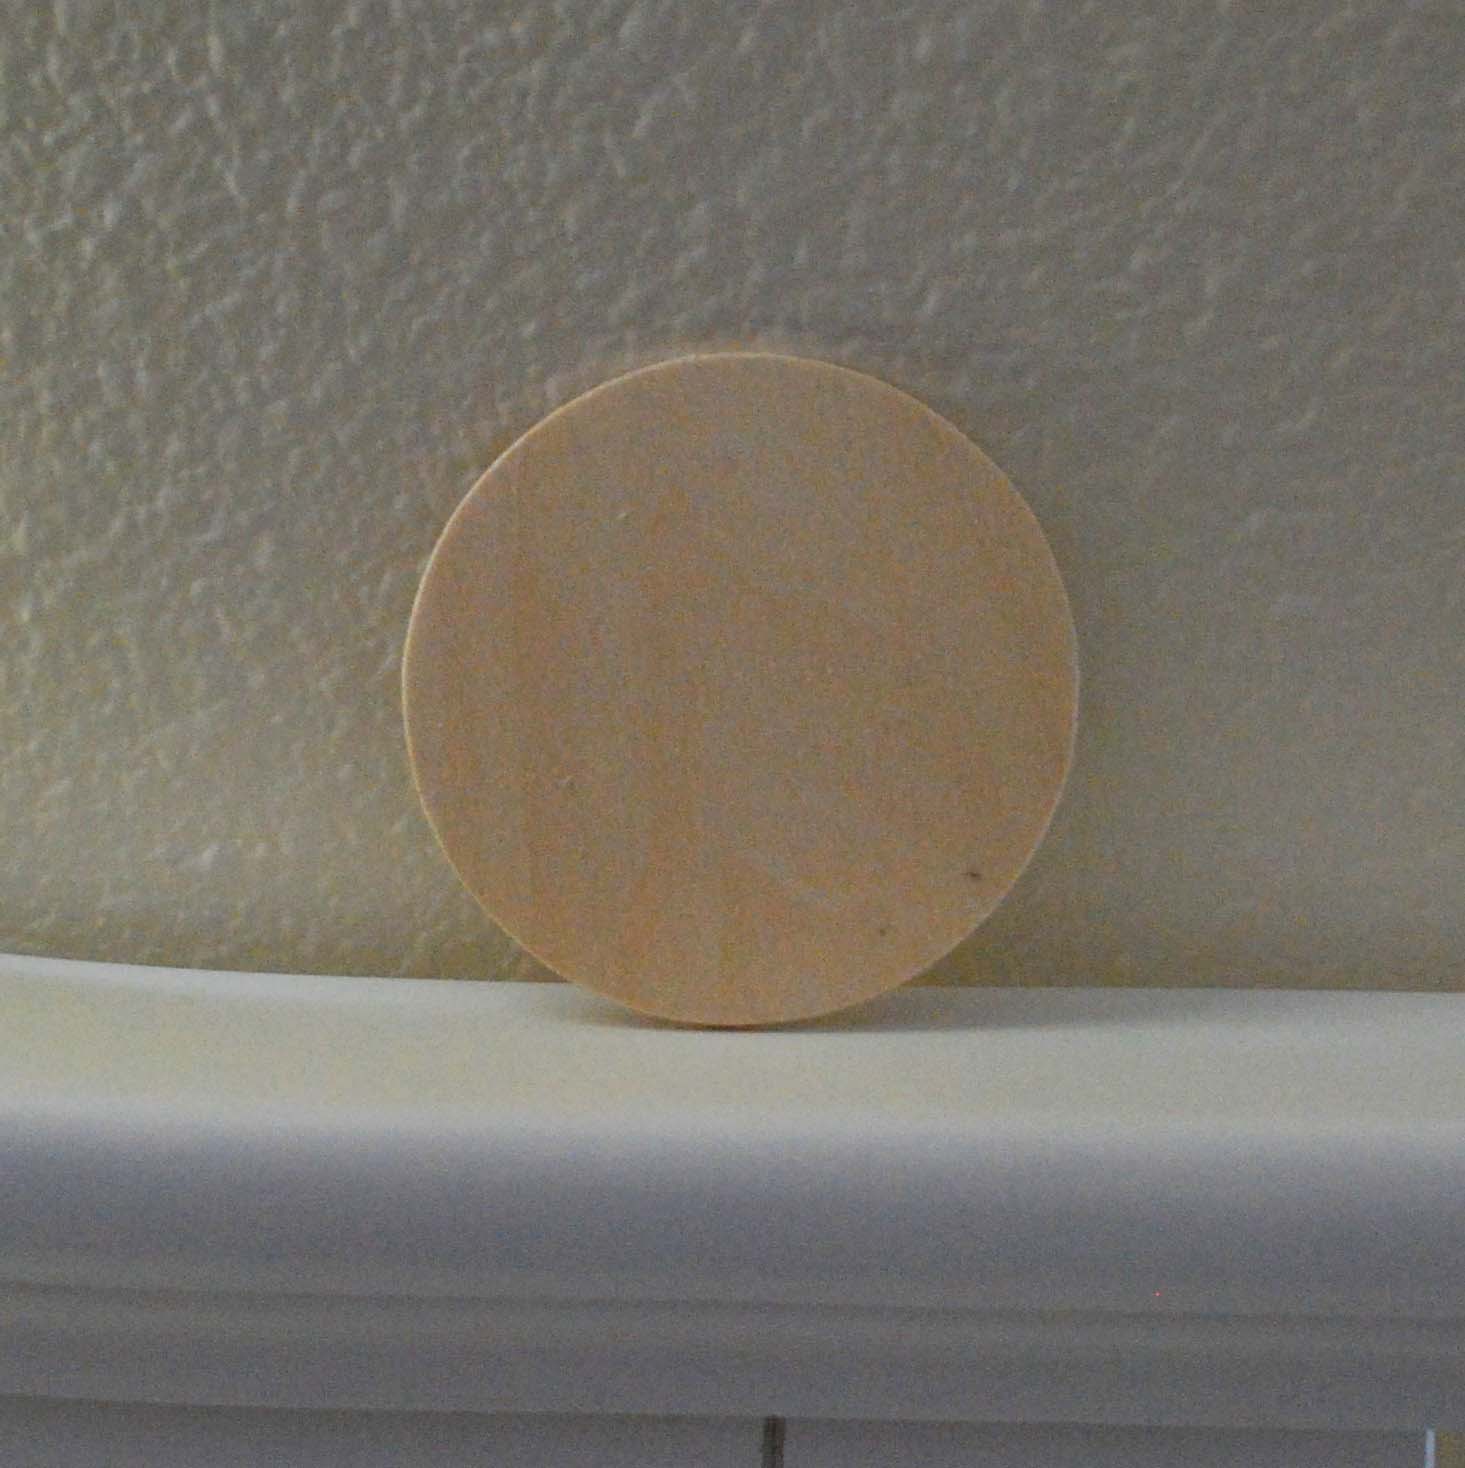
I had two issues. First, I needed non-breakable ornaments for my little girl's miniature Christmas tree. Second, I had some fancy stickers and other things I didn't want to "use up" because then I couldn't look at them anymore. Soooo, I decided to make these little wooden ornaments using the stickers. These are not limited to Christmas, and you can make them without the hangers and put them together as wall art. In any event, it's super easy, and here's how you do it. Start with some unfinished wooden discs, which you can find at any craft store. The packaging will look something like this, although these are much smaller than the 3-inch discs I used.

Here is what they look like before you start.


Lightly sand both sides and the edges with fine grit sandpaper.


I covered the back of my ornaments with coordinating paper in case the ornament gets turned around on the tree. If you want to do that, trace your disc on some paper to get the right size circle.

Then cut out your circle.


Paint both sides of the disc and the edges with craft paint. I used two coats since the wood is pretty soft and really soaks up the paint.


Once the paint is dry, glue down your paper backing on the back and your embellishment on the front using Mod Podge. Three-dimensional embellishments may not lay flat, so you might want to put something heavy on top overnight to glue it down flat. Cover both sides of the disc and the edges with two or three coats of Mod Podge. Let each coat dry thoroughly before adding the next coat.


If you are making a hanging ornament, drill a tiny hole at the top of the disc. I realize this photo does not show a safe drilling technique, but I trust that you will do your drilling carefully!

For the hanger, get some teeny satin ribbon (or the ribbon of your choice -- just make sure it will fit through the hole you drilled), and a needle with a large enough eye to accommodate the ribbon. Thread your needle with the ribbon.


Push the needle with ribbon up through the hole you drilled, and pull one side of the ribbon all the way through. tie at the top.

And there you have it! I'll try to get some better pictures of these ornaments on the tree when I set it up this weekend.

Have a great day!


Wednesday, November 18, 2009

Come To A Christmas Affair!


Do you live in Austin? Or anywhere near Austin? Or, really, anywhere in the US and have some frequent flyer miles burning a hole in your pocket? If so, come on over to the Palmer Events Center this weekend for the 34th Annual "A Christmas Affair," sponsored by the Junior League of Austin. This year's theme is safari, and there are more than 200 vendors, a silent auction, parties and events, pictures with Santa, delicious food (and a bar!) and much more! Visit the Junior League of Austin website for all the details! I'll be there Thursday until 2 p.m. and all day Sunday, so let me know if you're coming so I can say "hi!" There are tons of awesome vendors, but here are some of the places I've purchased well-received gifts in the past (you can order online from most of them, too):
Get super fun marshmallow blasters and bow & mallow sets from Marshmallow Fun (seriously, I saw people buying stacks of these . . . they are so much fun to play with):

Kendra Scott, jewelry designer to the stars and many fabulous retailers, has a booth. She was there in person last year. She is so chic! This awesome cocktail rink is only $75!

Loredana's will be there with samples of their delicious spreads and tapenades. I could eat an entire jar of the garlic and jalapeno spread.


Bearcreek Smokehouse has the most delicious smoked meats and soup mixes. The pork tenderloin is to die for.


Austin Cakeball makes these delicious bite-sized cakes. Perfect for a hostess gift for holiday parties.


By far my favorite merchant, Wine A Rita, will be there again this year. They make these awesome mixes that can turn the most mundane bottle of red wine into a delicious frozen drink. Yummers.

Osborne & Miller Stationary makes beautiful note cards, gift tags, etc., on rich, creamy papers. You can have them personalized, too.

I hope to see you there!


Tuesday, November 17, 2009

Etsy Christmas Finds (For YOU!)


I know all you sweethearts out there have selected thoughtful gifts for everyone you know. BUT I have some suggestions for gifts for you! Yes, YOU, mama! These are some of my current Etsy favorites, and all would make wonderful Christmas presents. If anyone in my family is reading, I would love anything from Artlab. And your presence of course! Happy shopping.

Top row: Unearthed leather cuff ($65); Morelle leather Truffle handbag ($235); Artlab scarf ($78).

Middle row: Lupin wool felt Poppy bracelet ($18.25); Ashes and Empires leather spats ($76) (convert any pair of shoes into stylish booties!); "The Red Sky" by Pamela Tang oil on canvas ($120).

Bottom row: Trinket box by Fun Wall Art ($25); Modern Radar pleated pouch (you could use this as a clutch, too) ($14); Treslyn necklace with vintage Lucite rose by RachelleD ($29.50).

Thursday, November 12, 2009

Easy And Fun Play Market


My husband announced yesterday that our 2.5-year-old was "bored," so I decided to move some stuff around and create a little grocery store where she could play "shop." We have this weird little nook in our spare room, so it became "Mary's Market." A while back, I got two gigantic bags of play food for $1 at the resale shop, so I loaded some of that onto the store "shelves" (a bookcase). I used some awesome Folk Art pink chalkboard paint that I got from my Rocking Friend Amy to make a little board where we can write the daily specials (hint: use soft chalk, not sidewalk chalk like I used). I made a little store sign with scrapbook paper and a cash register out of a shoebox and hung some reusable shopping bags near the "register." I googled "play money printable" and found a bunch of sites, including this one, where you can print out play money to put in the cash register. I'll probably put some real coins in as well. Last but not least is the shopping cart, which we got for a dollar at a yard sale and is currently held together with a combination of electrical and painter's tape. I hope you had a great week. One of these days I will get my act together and show you some Christmas stuff I've been doing. Or at least post some links to stuff that other people have been doing!